
Glass as a subject could appear difficult & might leave even the experienced photographers perplexed. But little cognizance of the properties of glasses & reflection might help decipher the complexities of photographing the same. Taking good quality pictures of Glass or transparent object can seem a great deal of fun actually. Normally, two major challenges that are reflection & focus on transparent subject
- Make use of Macro Lens for glass Photography 50 mm or 100 mm & for covering glass building one can use 70-200 mm lens
- Keep the subject clean (Dust free, Smudge free, Fingerprint free & Cable and Cords free
- In Glass Photography, the subject tends to sit still but the change of light can be in different ways. Such as
- Transmit the light which can be Direct, Refraction or Diffuse
- Absorb the light
- Reflect the light
- Use a translucent Plexiglas sweep-shooting table to make your background more conducive to various lighting technique including back lighting
- Adjust your light balance according to your lighting set up
- Almost all reflections produced by glass are direct reflections & often polarized
- Lighting glass requires attention to the edges. Produce strong lines along the edges of the subject. This can help to bring out its shape and set it apart from the background
- Make use of lighting technology – Bright Field Lighting or Dark Field Lighting – Use cloth/cardboard/poster cards or Velvet depending upon subject surface
- Eliminate distracting reflection of the lights and other equipment, which are in use
- Define the surface of the glassware – do some fine tuning
- Minimize the horizon
- Must control the flares
- Use proper exposure, lighting position, composition & camera setting. Change one thing at a time to experiment with results
- Experiment with side lighting, use of Soft box, diffusion panel, cardboards (white/black) and/or speed light – this will help to define the shape of subject – can give 3D effect
- You can use continuous or strobe lighting, but you must diffuse your light. Ideally, you should have a lighting umbrella, but thin white/black fabric or layers of rolled paper can work in pinch
- Put your light diffuser between the light & your product, and then place a white foam board under or on both sides of your product. Place another foam board or more paper across the top
- In nutshell you have to create a soft light on to your product – indirect lighting
- For more defined out edges, you can use black foam board instead of white. This increases saturation and creates bolder outlines & colours
- To avoid glare use 45- degree side lighting for shots
- To avoid foreground reflection hang the white rolled paper so that it sweeps down underneath the product. Sweeping the paper means that it curves in such a way that there are no defined lines, eliminating shadows caused by creases
- To eliminate reflection use double overhead lighting set up for shooting small metallic product like jewellery, pot, pans & cutlery
- Keep the camera setting at f/22, 1/200th (flash sync speed) and ISO 50. Use Zoom setting
- Have a large depth of field to get well defined glass edges (including the back side of the glass) and use the highest sync speed for flash/camera
- Use trigger to fire the speed light/soft box
- Always use tripod stand for consistent results throughout
- Secret to photographing glassware is to not light it directly. Never shine a light directly at glassware. Light it from the behind – backlit set up
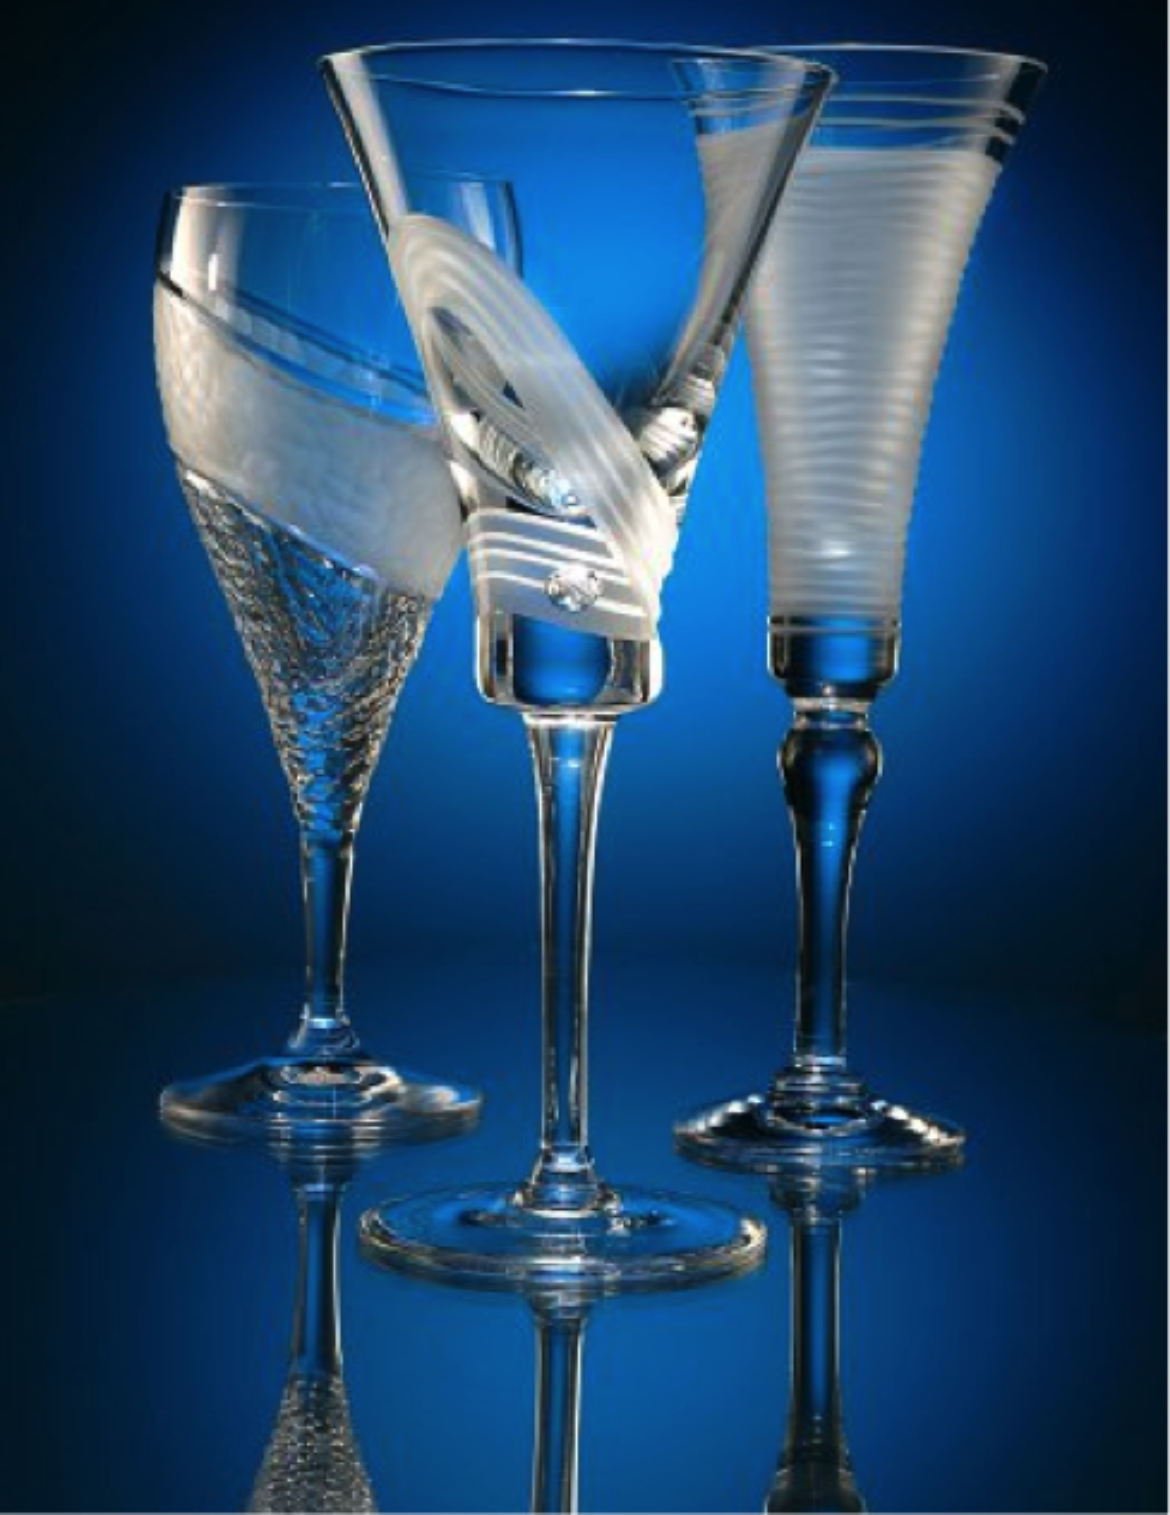
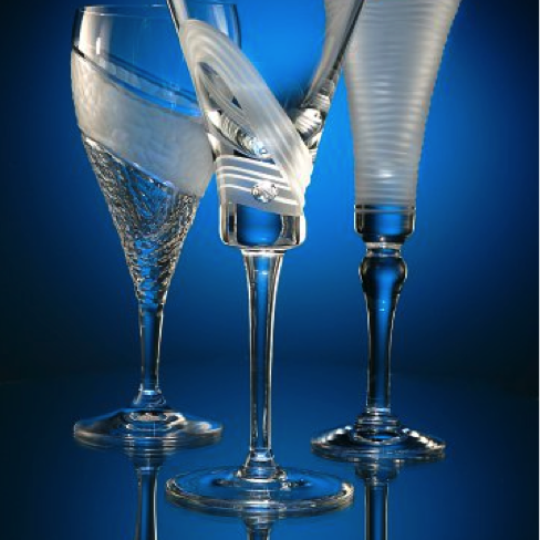
- Show creativity with liquid in the glass, play around with food colour, graded liquids, use of gel in the background, flame shots, defying gravity shots, Bang-on-pilipinas shots
- Shooting the glass building on rainy day can show lot of interesting pattern to cover
- Glass in all its form can clearly make for an interesting & varied subject, with no real limitation so get up & give it a go
Recent Comments