
Night Photography refers to photographs taken outdoors between dusk & dawn. Night Photographers usually have a choice between using artificial light or using a long exposure, exposing the scene for seconds, minutes and even longer in order to give the film of digital sensor enough time to capture a usable image
- Be open minded, Take a chance & explore the unknown
- Plan your Composition to put your vision into reality… The preparation is the key for night photography. It is 90% of planning & 10% of execution. Keep an element of personal safety during night. Ensure to get the friends company along as you will be venturing out in heavy traffic and also less secured zones
- You must know your destination & scout it in advance. Use night route finder application. Use Photo Pills application for weather forecast
- Choose the perfect timing for shoot between dust & dawn. Don’t shoot when there is complete darkness
- Pack the right gears, make use of Full Frame Advanced Digital SLR Cameras for night photography
- Familiarize your self with Camera Manuals & Settings
- Turn the camera mode dial to Manual or Bulb shooting mode
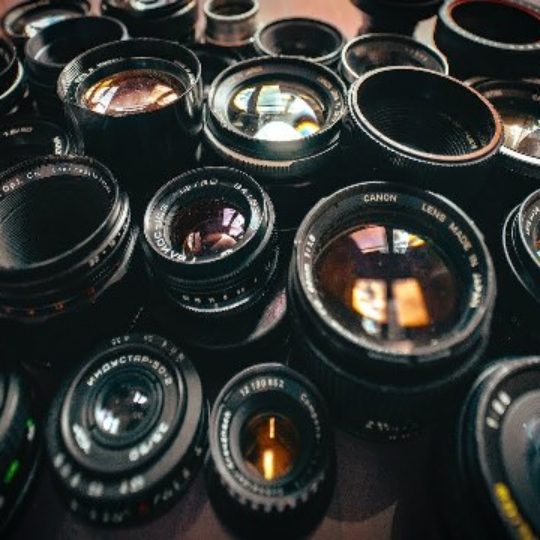
- The best lens for night photography is EF 17-85mm lens or wide angle lens 10-22mm
- Use lower ISO range between 100 – 200 & for Astrology you can go up 3200 & in that case don’t worry about ISO noise
- Depending on your speed, you can keep aperture at minimum setting at f/8 or even lower than f/16. Some photographers use aperture between f/2.8 – f/4 for optimal results
- Use shutter speed of 1/25th of a second and go up to 1/100th of a second with higher range of ISO
- Play with your white balance settings to maintain Colours, Brightness & Contrast
- Prop the Camera against stationary objects i.e. Table, Chair, Wall or any thing else to limit blur from Camera Movements
- Shoot in RAW to get the maximum…. for post processing
- Take some Test shots especially for night photography to experiment with increase/decrease of ISO /Shutter speed/aperture setting
- Spot Metering for identifying right exposure is added advantage
- Verify the correct exposure with the Histogram & to bring it within dynamic range of your camera
- A lens hood is necessary to minimize flares entering at angles outside of the frame
- Keep extra power back up as long exposure & image stabilization mode of cameras consumes lot of power/battery
- It is important to use tripod for sharp pictures. Shooting at night obliviously means that there will be less light and therefore slow shutter speed anywhere from 1-30 seconds –It is difficult to avoid shake with hand held. Better to attach your camera securely to a Tripod for sharp results
- Condition your gears to the outside Environment such as humidity, dense fog, heavy rains, cold to warm or any other changes happens due to temperature change. Try to bring your equipment’s to dry, warm & comfortable condition to work
- Avoid using flash light in night photography unless you want to give importance to foreground, which is quite dark
- Pay attention to existing/available lights. Use different modes/types of lights to illuminate your subject
- Must bracket your photos/images, use cross box to your image with leading in lines/lights
- Increase the Depth of Field for compensating for low visibility
- Capture & layer stunning light trails, curving lights
- Capture the activity that goes on night, think of different backgrounds. Use imaginations
- Use Self Timer to avoid shakes during long exposures
- Night Photography is always been a challenge for many of us to get correct ISO, Shutter Speed & aperture priority setting
- Taking long exposure images at night can be perfected with the practice and by learning to recognize the lighting conditions & how to adjust the camera to meet those conditions. It requires lot of patience & motivation. It is also a fun, enjoy shooting


Recent Comments